You can choose to upload and add new photos for clients and make adjustments to existing photos. This feature allows you to stay up-to-date on how you'd like to present your clients' photos when submitting them to roles.
Adding Photos
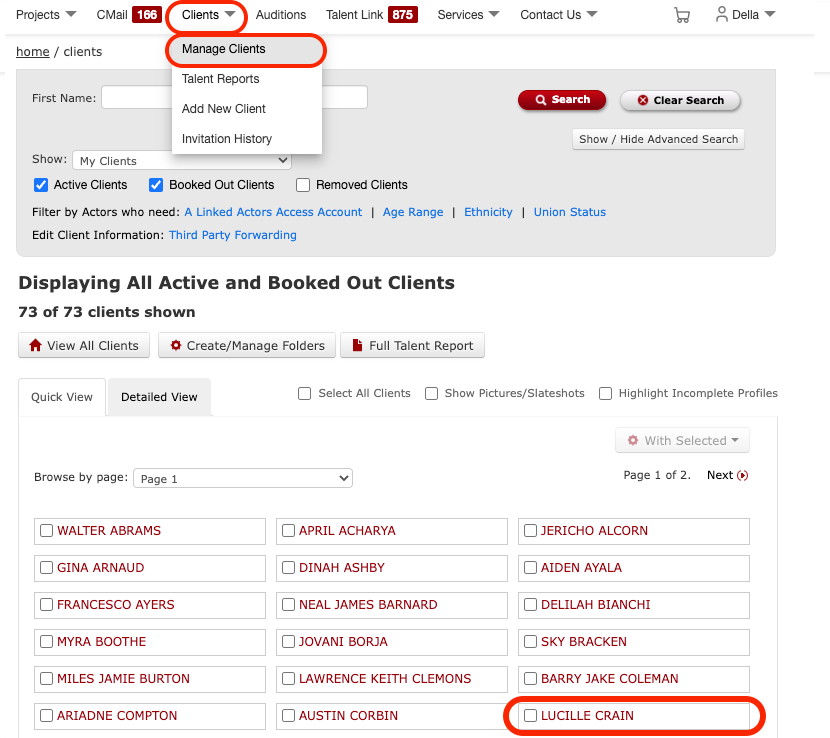
1) Click on the Clients drop-down menu and choose Manage Clients to view your full client roster. Then, click on the name of the Actor you wish to upload the photo for.
Note: If your Staff Permissions enable you to view and manage the rosters of other members of your Agency, you will be able to do so by selecting the dropdown menu that will Show which roster is currently being displayed.

2) Click on the Manage Photos tab. Here, you will have full capability of managing your client's photos. You can choose to upload/add a new photo, edit photos, add SlateShots, or specify the order in which you'd like to sort them.
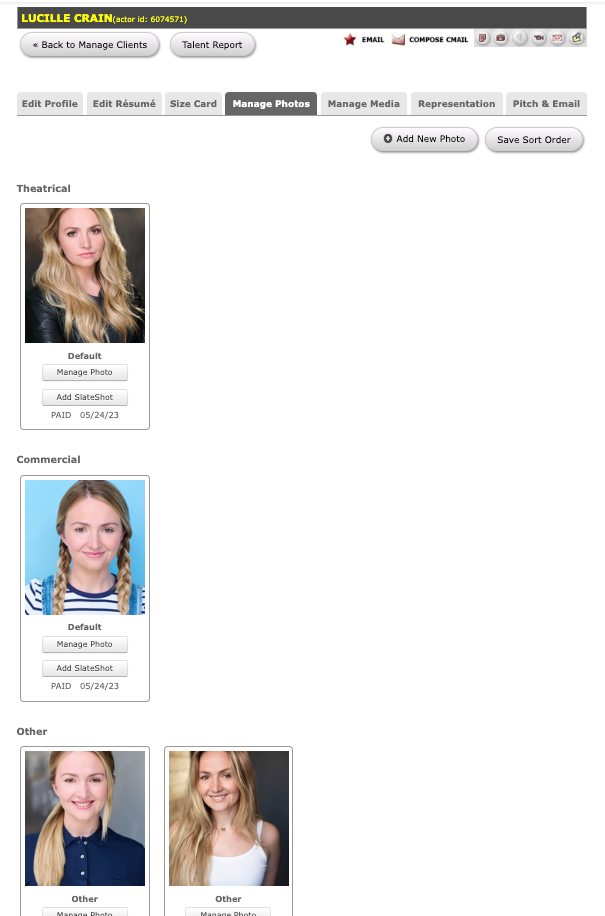
3) If you'd like to upload a new photo, click the Add New Photo button.

4) If a picture has previously been added by the Actor or another Talent Rep, but isn't currently on your profile for that client, it will display here. Click the Add Photo button to make it available for your own use.
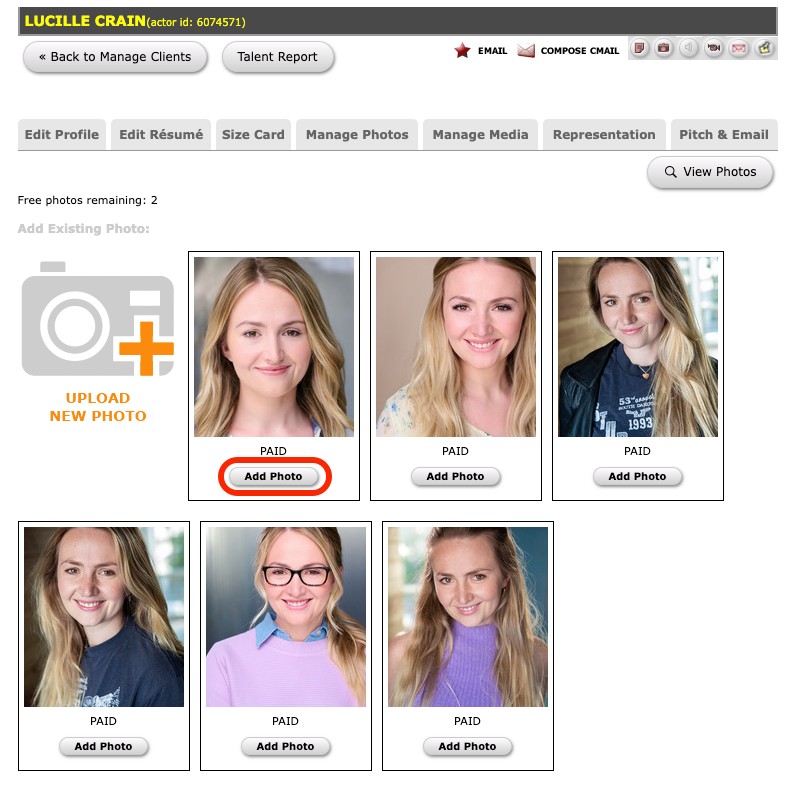
Please note that you are only allowed up to two FREE photos per client. Your first two are free, but after that you'll be required to pay. If you wish to add a FREE photo but have already used your two free slots, you can Hide an old FREE photo to open up the slot. Photos that are free are labeled FREE whereas paid photos are labeled PAID under the client's photo. You can, however, add any number of paid photos that the Actor or another Talent Representative of theirs might have uploaded to your client's profile.
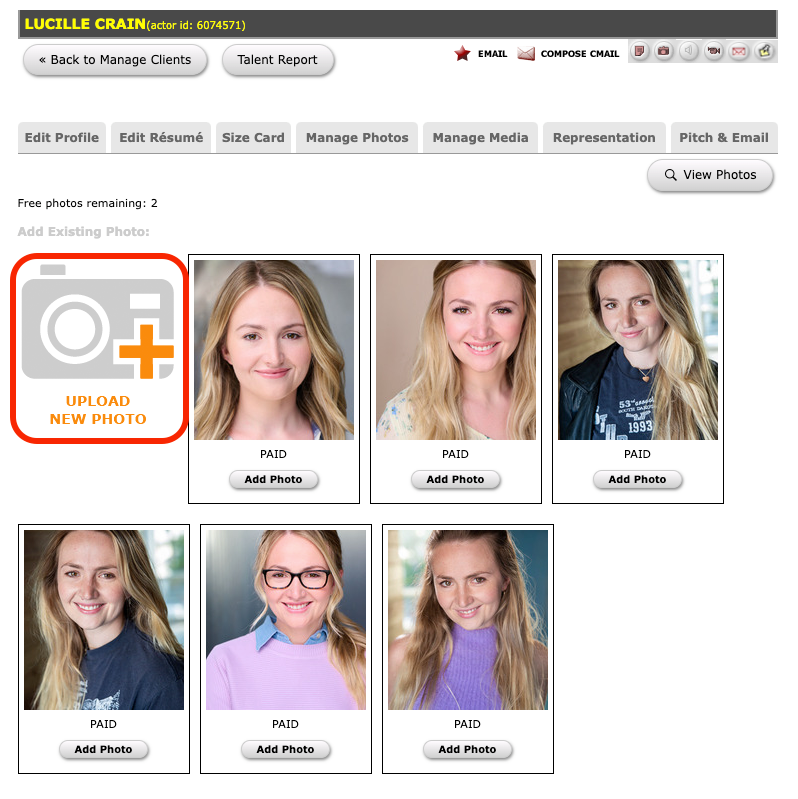
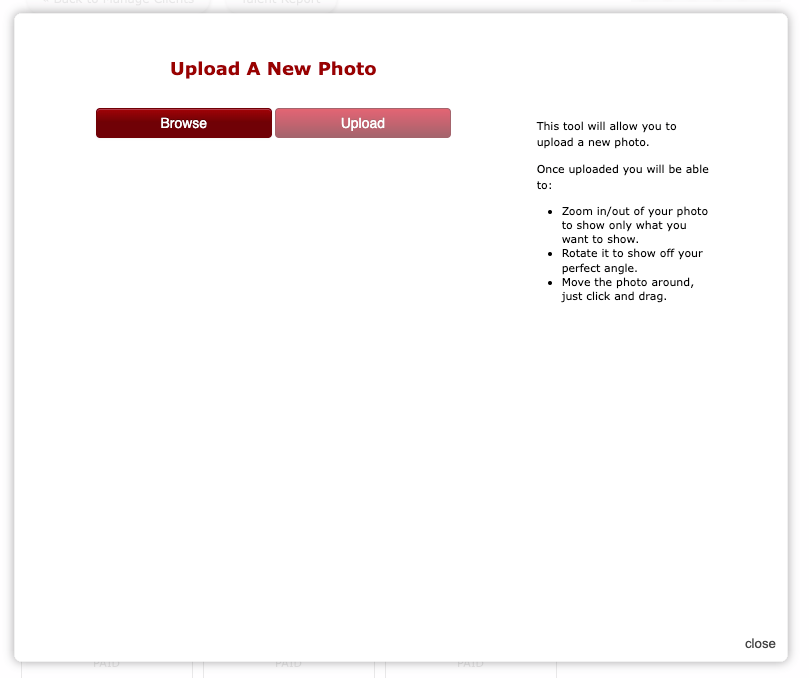
5) If the photo you need has not been uploaded, click on the Upload New Photo button on the top left of the page. You can also see how many Free photos remaining you have left directly above the button.
6) From this page, click on the Browse button to search your computer for the appropriate photo. Once you have made your selection, click on the Upload button to go to the next step.
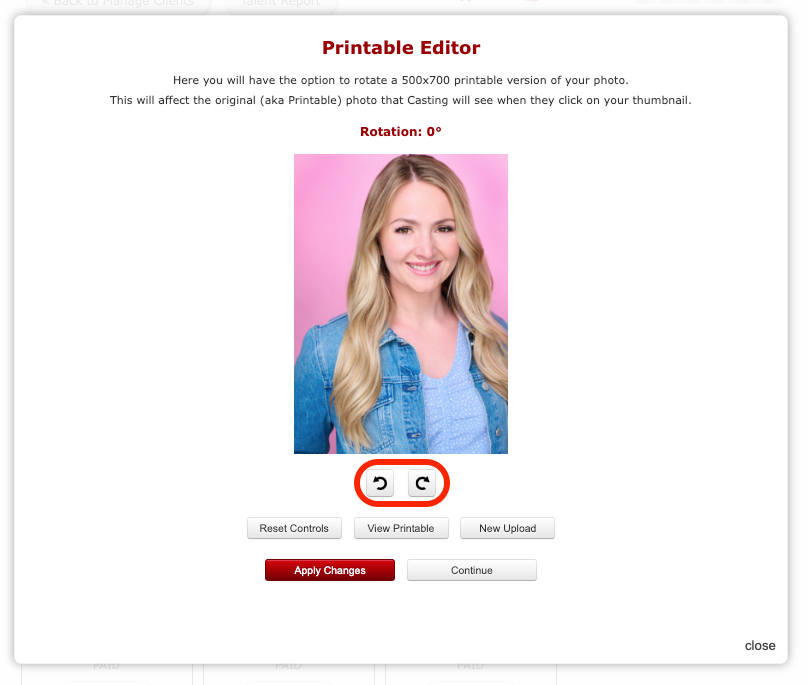
7) From this page, you'll be prompted to adjust and rotate the photo if needed. You can use the curved arrow buttons to rotate the photo 90 degrees each direction if need be, or View Printable. Clicking this will open a window containing your original photo. This is a full-resolution version that gets printed onto a full page.
8) Next, you'll be prompted to choose the thumbnail of this photo. The thumbnail is a smaller version of the photo that Casting will see first when reviewing submissions.
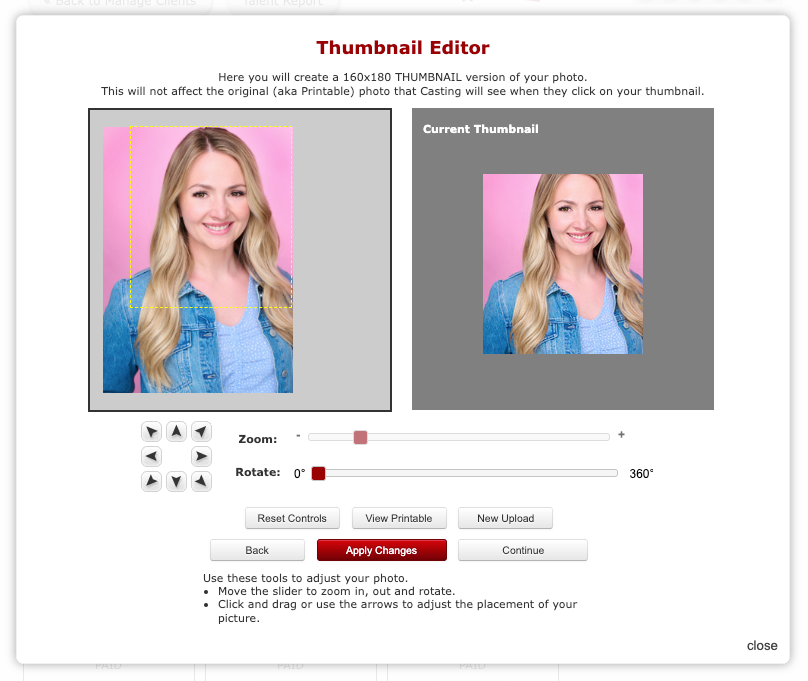
- Use the arrows and sliders to move and zoom the focus to crop out any excess part of the photo you want. You can also drag the picture around to frame it within the dotted lines.

- Zoom: Click and drag this slider to zoom in and out of the image.
- Rotate: Click and drag this slider to rotate the image.
- Click here to reset your changes back to the defaults.
- Click here to upload a different image.
- Click here to preview your adjusted logo in the Current Image window.
As you make adjustments, click Apply Changes to update the preview image on the right. Once you’re satisfied click Continue.
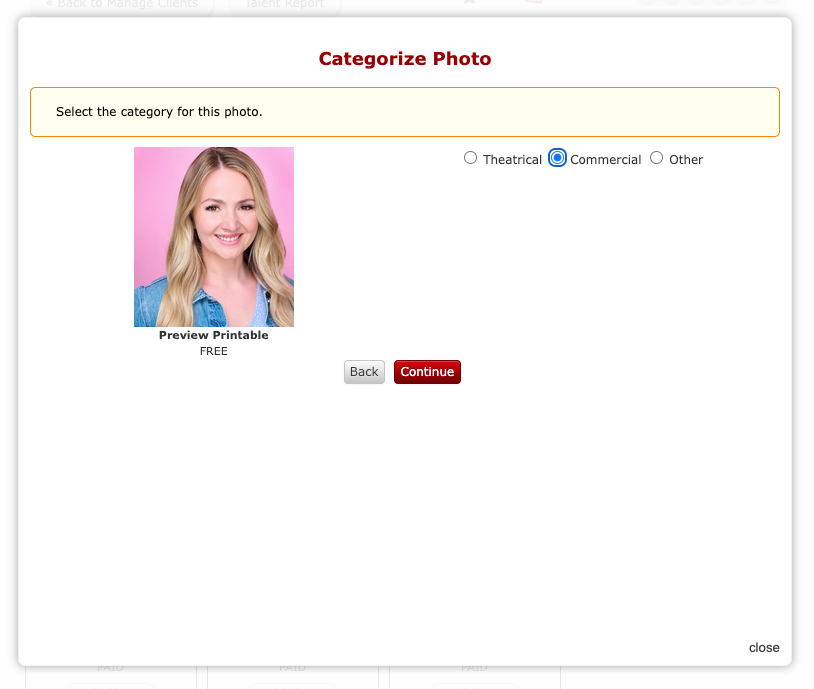
9) On the next page, you will categorize this photo as either Commercial, Theatrical, or Other, then click Continue.
10) Next you'll be prompted to check out from the cart. Remember, you are only allowed two free photos per client. Additional photos cost a one-time charge of $10 (USD).
Steps to check out using the cart here.
Managing Photos
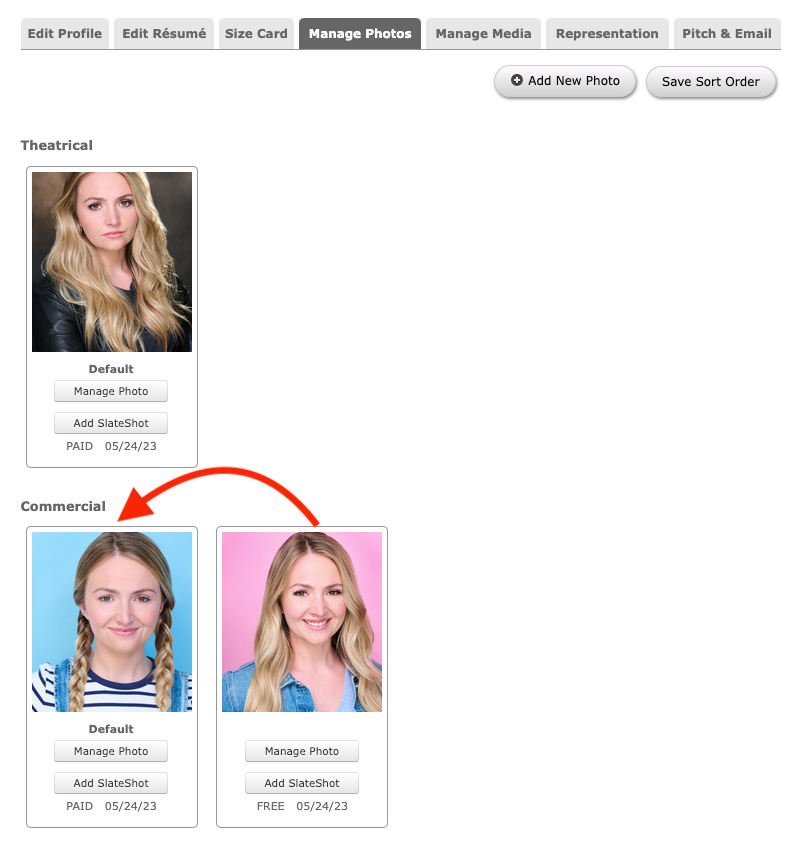
1) If you wish to change the order of your photos, simply click on a photo and drag it to the position you want. This will affect the order that they will appear when Casting views your client's profile.
2) Click Save Sort Order to save changes.
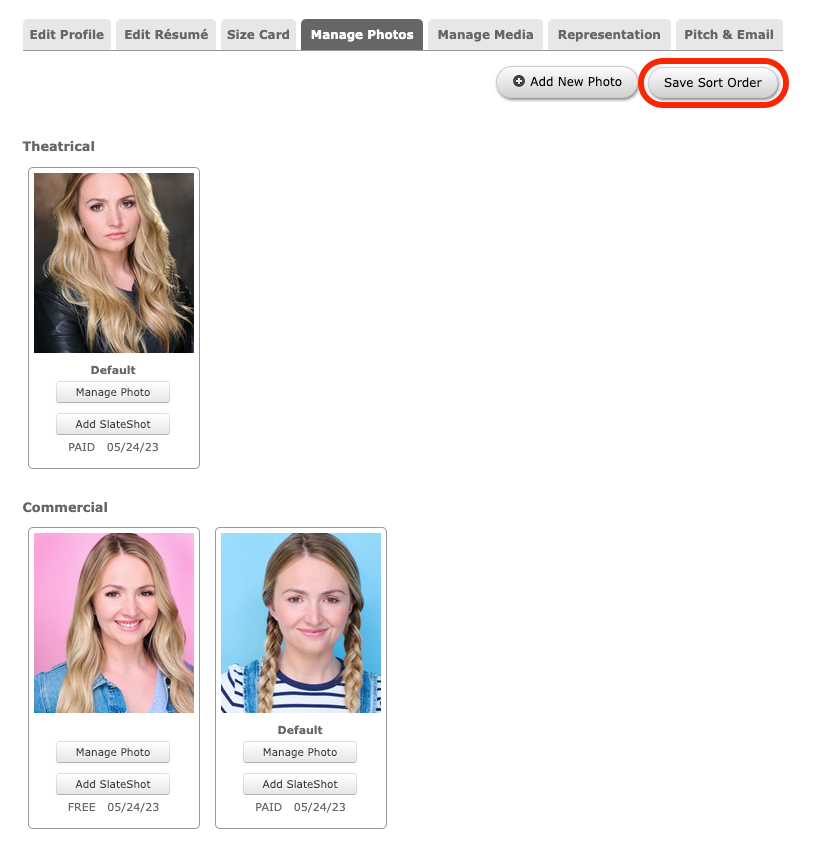
Now when you view your client's resume and profile, they will appear in the order you've chosen.
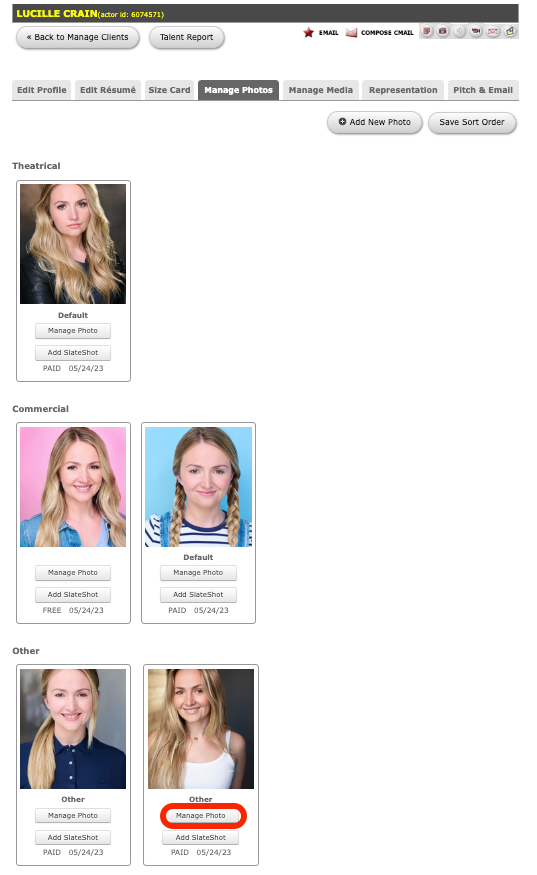
3) If you'd like to make a change to an existing photo, click Manage Photo under the Actor's photo.
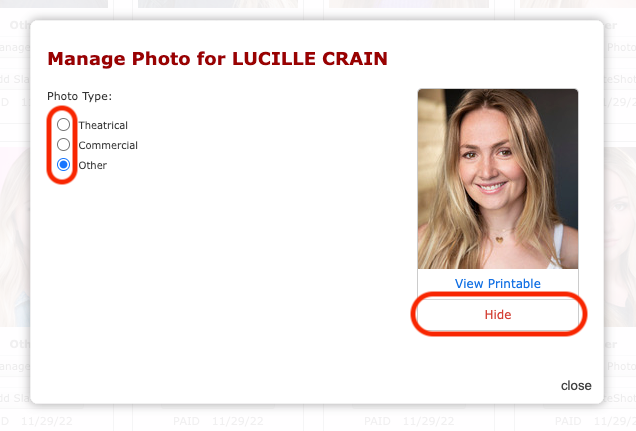
4) You can select the photo type: Theatrical, Commercial, and Other. You can also choose which photo you would like as your Default photo, by clicking Make Default Photo. This will be the photo that is submitted first on that type of project (theatrical or commercial), if another photo isn't selected. If you would like to delete the photo, select Hide.
Note: If you wish to edit the cropping of the photo, you can choose Edit Thumbnail Photo only if you have uploaded it yourself.
Next Steps: